Clearblue Pregnancy Tests
Clearblue pregnancy tests are home diagnostic kits that you can use to confirm pregnancy. These tests use the common practice of “testing for the pregnancy hormone,” and they are famous for being fast, accurate, and easy to understand. In this guide, we will walk you through the steps to take using a Clearblue pregnancy test, and everything you need to know about pregnancy tests and taking pregnancy tests. Before resorting to a home pregnancy test, consider these signs and symptoms that may cause you to suspect pregnancy: a missing period, tenderness in your breasts, nausea and vomiting, food cravings, an increased volume of urination, a feeling of fatigue and sleepiness. If you suspect you are pregnant, a Clearblue pregnancy test is one way to find out. This type of test is accurate when used correctly. A Clearblue test is as accurate as a urine test given in a clinic. To be completely sure, you can also ask for a blood test in a clinic. Remember, home pregnancy tests are not always reliable, and therefore the best and only advice is always to see a doctor as soon as possible. For best results, closely follow the instructions on the box before taking a Clearblue pregnancy test. A test is not always reliable if the test is taken less than 21 days after unprotected sex. A pregnancy test may be more accurate if you wait until you have missed your period to take it.
Understanding Clearblue Pregnancy Test Kits
You may want to take a pregnancy test and get information about pregnancy kits. They care about the user experience more than anything, whether at a physician’s office or at home. That’s why they offer three distinct types of pregnancy tests. The majority of these kits include two pregnancy tests. Pregnancy tests are designed in various ways due to each of their capabilities and functions. The Digital Pregnancy Test, for example, contains a conception indicator, while the Plus Pregnancy Test contains a reference plus.
Furthermore, a midstream urine test and a laboratory urinalysis are recommended. As a result, they advocate against using the rapid strip method. The pregnancy test uses two separate technologies: the use of blue dye and testing for the presence of the human chorionic gonadotropin (hCG) hormone. Pregnancy tests have been shown to have up to 99% accuracy. There are numerous variables to consider when determining the sensitivity of a pregnancy test. Test accuracy is a reflection that they and all pregnancy test brands take into consideration. The findings of a digital pregnancy test are reliable since all products are tested and authorized by the Food and Drug Administration. However, human errors and test sensitivity can have an impact on these outcomes at any moment. Due to failed urine output or an incorrect time window, the test may fail.
Types of Clearblue Pregnancy Tests
Clearblue pregnancy tests offer a variety of options for consumers to choose from, depending on their specific requirements. Currently, the range consists of four different types of tests. The first and most technologically advanced test is the digital test. This test analyzes quantitative levels of hCG in urine, as well as assesses the time since a missed menstruation. Results are shown within three minutes. The second type of test is the rapid response test. This visually interpretable test shows results in one minute, making it ideal for those on the go. The sensitivity of this test is 25 IU/L. The third type of test is an ultra-rapid response test, sensitive to 1,500. Ultra-rapid response tests are available in packs of two in order to ensure accuracy. They are also the most affordable of the range of tests. The sensitive early detection test is available in a single pack. This test is capable of detecting hCG levels as low as 10 IU/L, making it suitable for testing up to six days prior to initial scheduled menstruation.
Clearblue pregnancy tests are available in plastic sealed packaging without an outer carton to ensure discretion and safety. All of the tests are simple to use and easy to interpret. Tests showing a positive result will highlight a ‘+’ sign. The sensitivity of these tests reflects the sensitivity of the test, and all can detect results between one day to the day of a missed menstruation or up to six days. Selecting the test type is determined by the time since unprotected sexual intercourse has occurred, a possible suspected pregnancy, or the need for quantification of the results.
How Clearblue Works
Clearblue tests for pregnancy operate by finding the existence of the hormone hCG in urine. Given that hCG is made in extremely low concentrations during the very early stages of pregnancy, the hormone is intrinsically difficult to detect. What distinguishes Clearblue tests from others is their level of sensitivity. Clearblue tests can detect hCG at levels as small as 6.3 mIU/mL, a quality that makes them often more reliable than standard laboratory testing. A few essential things to grasp about hCG are when it is produced and how its concentration changes during pregnancy. While body composition and other factors can impact when hCG is detectable in the urine, the hormone is generally made five or six days post-fertilization. hCG values rise rapidly in the weeks that follow, doubling around every 2.2 days during weeks three and four of pregnancy. To ensure that at-home tests are reliable, it is best to wait to take them until the first day of the missed menstrual period.
Clearblue pregnancy tests are over 99% accurate in tests completed on the day of the missed period and offer a result that is as much as four days before the prospective due date. Factors such as test sensitivity and hCG levels may occasionally result in a negative result for women who are, in fact, pregnant. In extremely rare circumstances, this can happen when a woman has higher hCG levels than Clearblue can detect, or if the timeline for taking the test is off because of unknown factors such as miscalculations of the date of the last menstrual period. Regardless of how quickly the results are generated or whether the test is digitally powered, a negative result should be retaken in a few days or after another missed period.
Preparing to Take the Test
Preparing to take a pregnancy test is very important, as this will increase the reliability of the results. Firstly, it is strongly suggested that you read the instructions carefully before you take the test. This is because 1 in 4 users can misread a symbol in a pregnancy test and misinterpret the results. It is also worth noting that the test is over 99% accurate from the day your period is due, meaning that if you want the most reliable results, it is best to take the test after your missed period.
Therefore, if you are reading this because you have had unprotected sex and are taking the test the day after your missed period, it is likely that the information does not apply to your particular situation. While morning urine is the most concentrated and thereby considered the best urine to be tested, if you have drunk a lot of water before going to bed, some healthcare professionals would advise you to wait and take the test later in the day. No other medications or fluid intake should affect the reliability of the test, as long as you follow the recommendation to not drink excessive amounts of liquid beforehand. Before taking the pregnancy test, you should consider carefully when it will be easiest for you to collect a clean urine sample. It might be beneficial to have a watch, a clock, or a phone close by to monitor the required waiting times as you take the test. Although the process has been suggested to take no longer than ten minutes, it will seem a lot shorter if the required materials are handily available. Similarly, by taking the time to gather all the essentials you need for taking the test, you can prevent mid-test panic. The handy benefits of preparing for your pregnancy test mean that you can not only avoid any potential sources of anxiety that can affect the overall outcome of the test but also ensure that the results are more reliable.
Step-by-Step Instructions for Using a Clearblue Pregnancy Test
Step 1 – Read through the product manual carefully. This is always a good practice before using a product for the first time. In this case, it provides some valuable information about testing, understanding the results, and possible issues you may encounter. Step 2 – Remove the test stick from the wrapper. Do not remove the cap from the end of the test stick. Step 3 – Collect a sample of your urine using the small, colorless container provided. This container must be clean and dry before use. Step 4 – Remove the cap from the test stick. Only remove the end cap right before using the stick. The other cap, which fits over the absorbent tip, should remain in place. Step 5 – Dip the test stick into the urine sample. Hold the stick, with the absorbent tip pointing downward, in the urine for 5 seconds. Step 6 – Place the test stick on a flat surface with the absorbent tip pointing upwards. The windows that appear on the stick should be facing up so you can see them easily. Step 7 – Wait 3 minutes. You should wait at least this long before trying to read the results. Waiting longer, you may notice that the result indicators continue to circle until 10 minutes have passed. If this happens, and you see that the test is working, you may consider it, but remember that you should wait at least 3 minutes. Step 8 – Read the results. The larger window will start showing a pink line as the test stick works through the sample. Once the test is complete, the result will appear. A plus sign (+) means you are pregnant. A minus sign (-) means you are not pregnant. An error (E) will appear if the test was performed improperly or there was a system error. Tips: The chances of an accurate result increase if you test with your first urine of the day. Try not to consume too many fluids before taking the test, as diluting your urine can reduce the accuracy of the results.
Step 1: Read the Instructions
To get the most accurate result, it is crucial to follow the instructions that come with the pregnancy test. Not only do they show you how to use the test correctly, but they also provide advice and information about what to do once you have your result. The instruction manual that comes with the pregnancy test includes four parts: information about pregnancy and how a pregnancy can be confirmed, information about the products, a step-by-step guide to using the test, and frequently asked questions. Make sure to familiarize yourself with each section of the instructions before you start to take the test. It’s also a good idea to read the instructions so that you know what to expect.
Some people think they know how to use the pregnancy test and miss this step. When they get a result they don’t like, they then think that the test didn’t work properly. As well as giving you basic instructions, the guide also tells you about common things that people get wrong. By knowing this information in advance, you can avoid these pitfalls. For example, you might be told that people often only dip the test for a few seconds if they don’t read the instructions. If you follow the instructions, you will dip your test for the recommended time. This will generally have been mentioned in the instructions. You will also be told the best time of day to take the test, which is especially relevant if you haven’t done one before. Finally, you will have been told what types of sample to collect for your test and where to collect it from. If you don’t read and understand the instructions before starting, you might forget to use your first morning urine, which affects the test result’s reliability.
Step 2: Collect Your Urine Sample
1. You can test at any time of the day once you have collected the urine sample and taken the test cap off. However, when testing before you expect your period, the levels of hCG may be low, and the test is less sensitive. For testing from the day your period is due, a morning urine sample is the best, as it will have the highest levels of hCG and therefore be most concentrated. Please read the leaflet included in the pack for more information about when to test. 2. Always wash your hands and read the instruction leaflet before collecting urine. This will help to avoid any contaminants coming into contact with the urine sample, which could potentially affect the result. 3. Although most urine samples are suitable, it is best to also collect a sample in a clean, dry container. Try not to touch the inside of the container. 4. Either hold the tip of the test in your urine stream, or if you prefer, you can urinate into a clean, dry container. Allow the test to wick up the sample or tilt the stick downwards.
Step 3: Perform the Test
For the results to be as accurate as possible, it’s important to follow these directions closely. Although a number of ‘problem points’ are addressed in the instruction booklet, there are a few more common difficulties that women using pregnancy tests might face which aren’t.
Step 3: Perform the Test This is, of course, the most important part of the process. Also termed the ‘urine sampling’ section, this part of the directions is almost always overlooked. Women are advised to use a wider sampling container when using their pregnancy test, as it provides a slightly larger ‘target’ area for those unskilled in the art of urine collection. A notable difficulty that may frustrate women when using other kits is gray lines within the result strip; if these bars appear on a test in conjunction with a faded control bar, the test is invalid.
Either gather a urine sample or insert your absorbent sampler directly into your urine, depending on the instructions enclosed with your specific test. Alternatively, women using digital tests may be instructed to collect a urine sample in a cup and use a dropper to apply a certain quantity to the tester. Insert the absorbent sampler into the specially marked holder or drop a certain quantity of urine onto a certain carrier area, depending on the instructions enclosed with the specific test you are using. If working with the second method mentioned, be certain that the special area is thoroughly moisturized with urine, or difficulties in reading the outcome will arise. Follow the process of turning the tester upside down with the special area facing upwards once the sampler is wet. Once the result window registers a colored bar, lay the sampler on a flat surface and wait for your result. During this part of the testing process, women may often notice odd leading lines or changes in the test window. It is important not to panic, as most aspects of the pregnancy test preparation process have nothing to do with the actual resulting line. Keeping calm and behaving methodically may make the process simpler to endure.
Step 4: Wait for Results
When to check for results: All pregnancy tests, at-home and otherwise, require a waiting period to develop. The waiting period is an integral part of the user experience and cannot be rushed. After you perform the pregnancy test, you’ll have to wait for your results to appear. This is when it’s time to be patient. Disturbing the setup can lead to the inaccuracy of the symbols that appear. Keep your hands off the stick when you’re waiting for your results!
How long to wait: After you perform a pregnancy test, you may find yourself counting down seconds, minutes, or even hours before the results show up. However you prefer to wait it out, it’s important to wait for the specified amount of time before checking your outcome. The digital pregnancy test with smart countdown is an advanced test that automatically counts down as it waits to display your results. Your results will be displayed in one of two timeframes: 3+ minutes of countdown time and an additional 30 seconds while the test analyzes your urine before your result is displayed. If you’re using the basic digital pregnancy test, your results will be displayed after 2 minutes of waiting. Try to keep your excitement at bay. Once enough time has passed, you can go ahead and check your results, fear and anxiety not included. A pregnancy test quite simply will not require hours of waiting, so check the instructions to be sure. Finally, if you’re looking at a pregnancy test with a designated time limit for reading results, stick to it! Any time after this may not encapsulate an accurate result.
Step 5: Interpret the Results
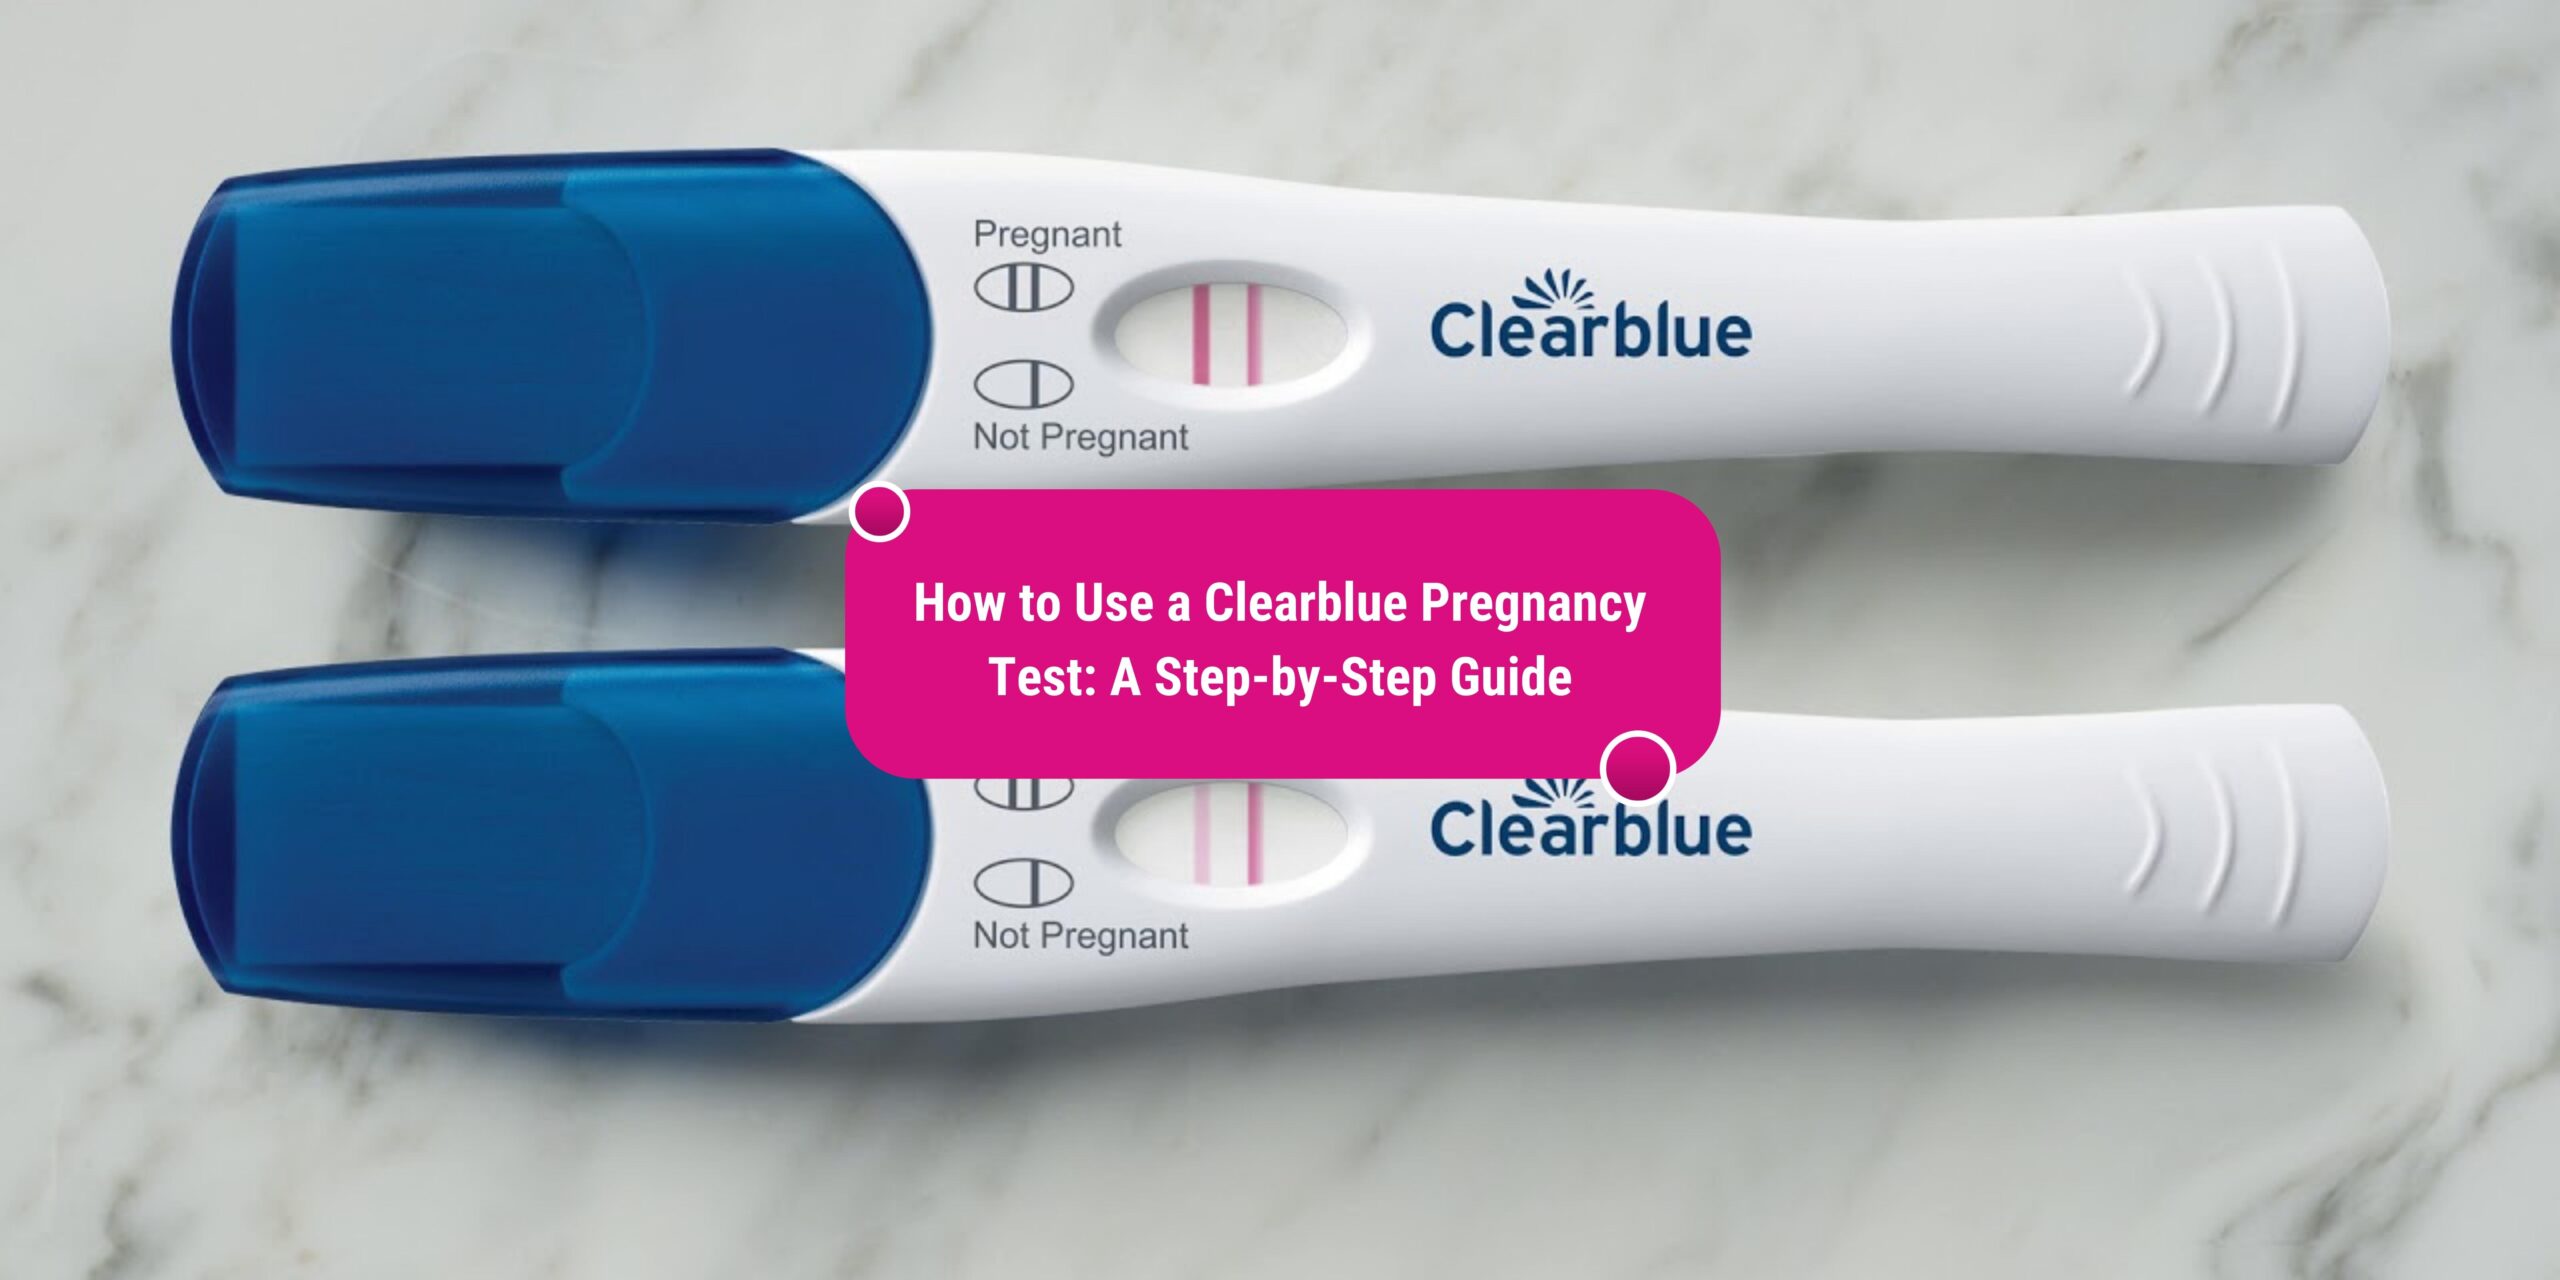
Clearblue pregnancy tests offer digital, visual, and early detection options, and interpretation of the results depends on the particular test used. The visual tests display results in a few different ways: lines, ‘+’ symbols, and ‘-‘ symbols will appear on the test indicator window within a specific time frame if pregnancy is detected.
• 1 line with a ‘-‘ symbol: The results are negative for pregnancy. If pregnancy is presumed based on this test result, it is recommended to verify the results with a healthcare professional. • 2 lines – 1 a control line and the other a test line or the combination of the two lines reads ‘pregnant’ or ‘not pregnant’: A positive test result indicates pregnancy and the number of weeks (1-2, 2-3, or 3+). • ‘Pregnant’ and a digital clock displays anything from ‘1-2,’ ‘2-3,’ or ‘3+’: A positive test result indicates pregnancy and how many weeks since conception occurred; a result of ‘1-2’ indicates pregnancy occurred 1–2 weeks ago, ‘2-3’ indicates pregnancy occurred 2–3 weeks ago, and ‘3+’ indicates pregnancy occurred more than 3 weeks ago. Home pregnancy tests are generally accurate when used correctly. However, if the test kit has expired or been improperly stored, the results may not be reliable. The tests also lose accuracy if used too early. It is best to use another test in a few days to see if the results change.
Interpreting Clearblue Pregnancy Test Results
Interpreting Your Clearblue Pregnancy Test Results
Understanding your pregnancy test results is crucial; it informs you about the next steps to take. After completing a test using the Clearblue Week Indicator Pregnancy Test, the instructions list multiple potential results. However, only two outcomes are expected: 1) pregnant, with a sign indicating 1-2, 2-3, or 3+ defined by the number of weeks since conception, or 2) not pregnant. Each possible outcome is accompanied by a justification based on the medical composition of the test. If performed properly, a negative ‘not pregnant’ test result is 99% reliable, whereas a ‘pregnant’ result can be 93% – 98% reliable, depending on the size of the uterus. The Digital Pregnancy Test leads to false positives only after a molar pregnancy, which is ultra-rare. This means that you should trust the results of your pregnancy test to fully understand your circumstance and not misinterpret the outcome!
The result of a digital pregnancy test by Clearblue is explicitly either ‘pregnant’ or ‘not pregnant,’ with ‘pregnant’ indicated by the number of weeks since conception. A result of ‘not pregnant’ or ‘pregnant’ starting at 1 in almost all cases indicates exactly what it reports. Over 55% of menstruating women claim to have spotted unusual vaginal bleeding and experienced false negatives before obtaining an actual positive. Emotional factors, including wishful thinking rather than true results, are possible reasons to reject a positive pregnancy test. Factors interfering with your pregnancy test results include incorrect implementation of the pregnancy test instructions. Issues concerning poor eyesight are irrelevant since most Clearblue options are digital, preventing the need to search for or analyze the results. Do not rely on a positive pregnancy test beyond the date on the test. Hormonal levels ebbing can cause a home pregnancy test to appear negative and then turn positive at a later testing date. The last reason to retake the test is partial expulsion of the embryo, which may trigger a negative pregnancy test result. Discuss the results and any symptoms with your doctor, as a positive test does not guarantee that you’re pregnant, though persistently negative results don’t confirm otherwise!